Access your Docker-based Raspberry Pi at home from the internet
Thu, Aug 6, 2015If you followed our guides about setting up a git service or about setting up a blog on your Raspberry Pi, you might want to access these services from the internet. In most cases, this requires three steps to be done. We will show how to take them successfully.
First check, which of the following two cases match your network environment:
- If you have full access to your router, i.e. if you are able to change your router’s configuration, this blog post is exactly what you will need to go through. Please double check and log in into your router’s admin panel. If you are able to login, continue reading below.
- Else if you cannot login into your router or if you sit behind a firewall, you need to use solutions that implement the so called hole punching technique. In this case, you may wait for the blog post covering that at some day in the future :-) If you are curious already today, have a look at ngrok, localtunnel or pagekite, and ping us if you need help to set them up!
Since you have access to your router, this prerequisite is met and we can start to make your Raspberry Pi accessible from the internet! There’s just one thing more to mention upfront: The instructions we provide are not always as step-by-step as we would like to offer them. It’s just that the hardware you use and your network topology probably differ a lot among other readers’ setup. Thus at some point we rather explain the overall concepts and ask you to adapt the concepts to your environment. We do our best to make it a painless experience for you, of course!
The three steps we gonna take in the following, are:
- Step 1: Register at a Dynamic DNS service
- Step 2: Define port forwarding rules in your router
- Step 3: Docker run your containers with published ports
So, hands on!
Step 1: Setup Dynamic DNS
A Dynamic DNS provider maps a domain to the IP address of the router at your home. For example, if the Dynamic DNS provider offers the domain my-home.domain-of-provider.org to you, you will reach your home by just typing this domain into your browser - from all over the world. This is useful because your router usually changes its IP address it is accessible from the internet on a daily basis. Thus, you want some automated tracking of these changes. Moreover it is often easier to remember a domain instead of an IP address. Therefore, first we register a free domain that always routes to your router at home.
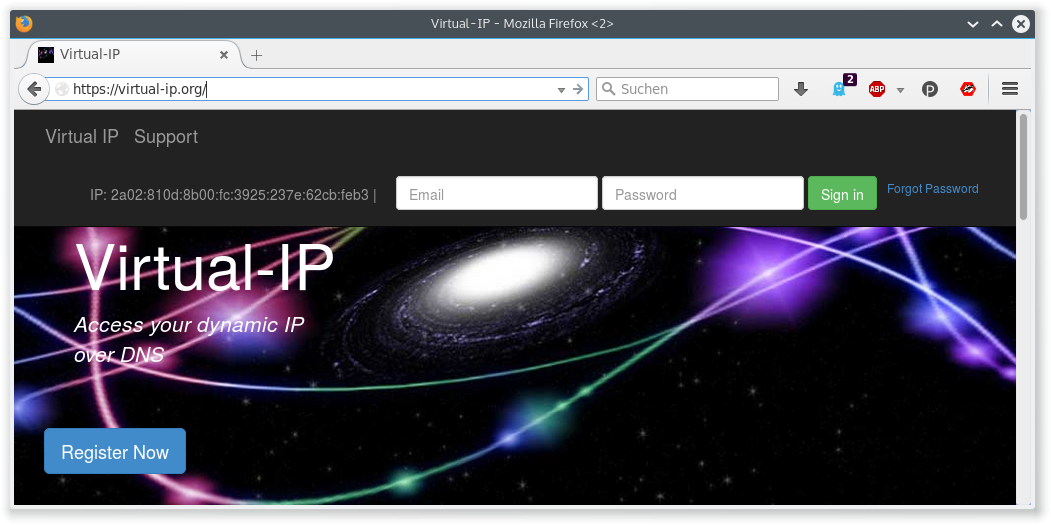
As a Dynamic DNS provider, we recommend virtual-ip.org, which is free and has no commercial purpose.
Follow these steps:
- Register at virtual-ip.org.
- After login, on the main page, click on the button Add Host. There, choose a hostname and click the blue button Add Host.
- In the list on the main page, you should see a table showing a domain name and an IP address. The domain name will be the one you will reach your home with.
Next, you need to install virtual-ip.org as Dynamic DNS provider in your router. First you need to login to your router. To do so, point your browser to the IP address of your router. If you are not sure about the IP address of your router, try to figure out your own IP address, which is e.g. 192.168.0.20. Then, exchange the last number of your own IP address by 1. The resulting IP address is often assigned to your router. Point your browser to this IP address and you should see your router’s web interface:
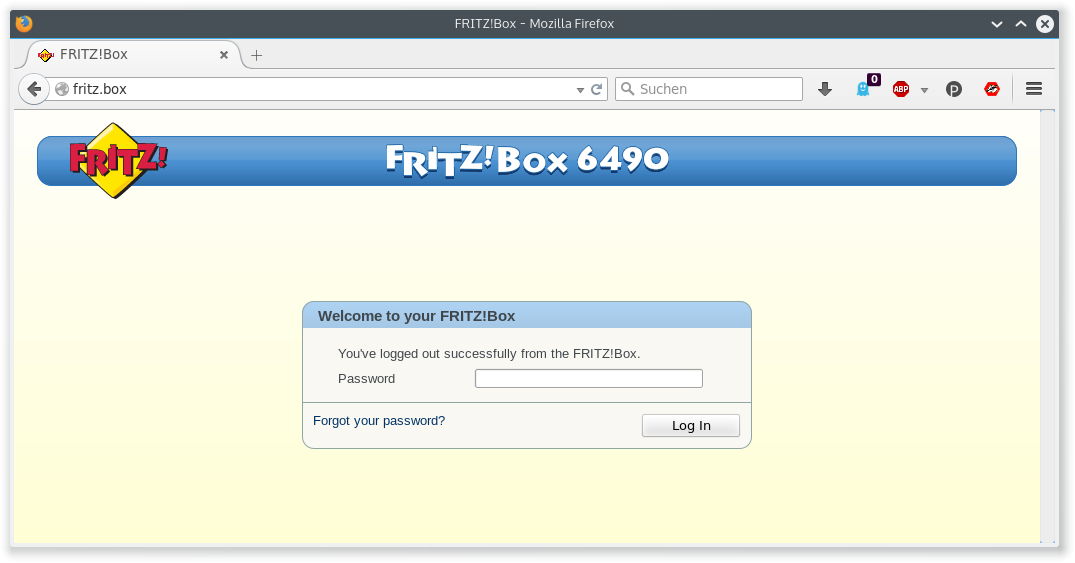
The screenshot is taken of the web interface of a router called “Fritz!Box”, which we will use to show the steps in the following. If you have a different router, check if your device is listed in the documentation of virtual-ip.org about how to configure Dynamic DNS. If your device is not listed, try to apply the following steps to your device accordingly.
In our case, using the Fritz!Box, you need to go to Internet -> Permit Access and open the Dynamic DNS tab.
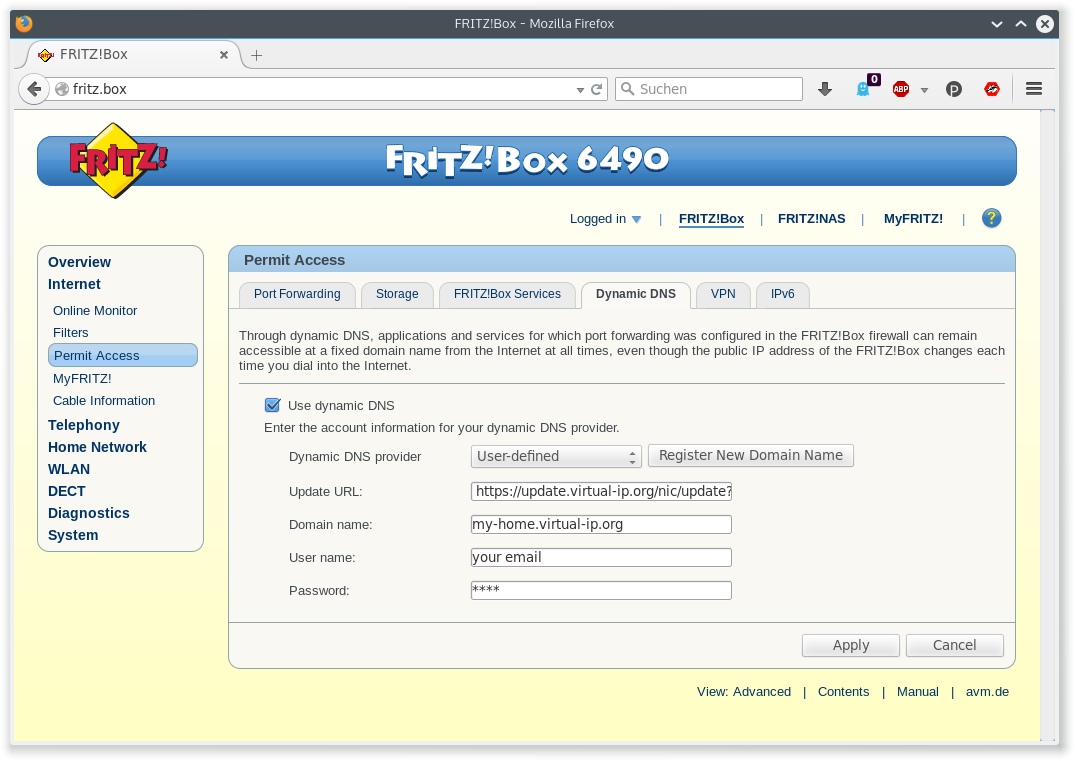
Here, Activate the checkbox and fill the fields with your credentials of virtual-ip.org. If the Update URL is not provided in the virtual-ip.org documenation, try the following one. In advance, replace <your-domain> with the domain you just registered at virtual-ip.org:
https://update.virtual-ip.org/nic/update?system=dyndns&hostname=<your-domain>
After you have set the configuration for Dynamic DNS in your router, login to virtual-ip.org. Now, the IP address of your router should be displayed in the column IP Address next to your new domain as in the following screenshot. You can double check if this really is your IP address with a service like whatismyip.com.
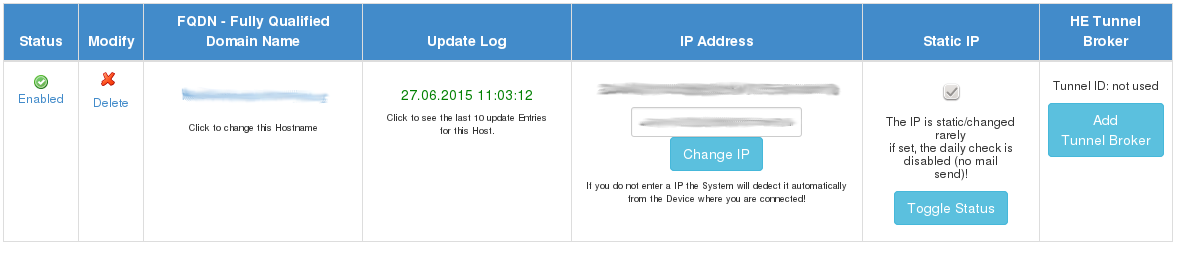
Congratulations! At this point you can reach your router at home by a domain in the internet. However, your requests won’t reach the Raspberry Pi yet because the router is not configured to forward requests from your router to the Raspberry Pi. Continue with the following section to configure this.
Step 2: Configure port forwarding in your router
In order to forward requests from your router to the Raspberry Pi, you need create port forwarding rules in your router.
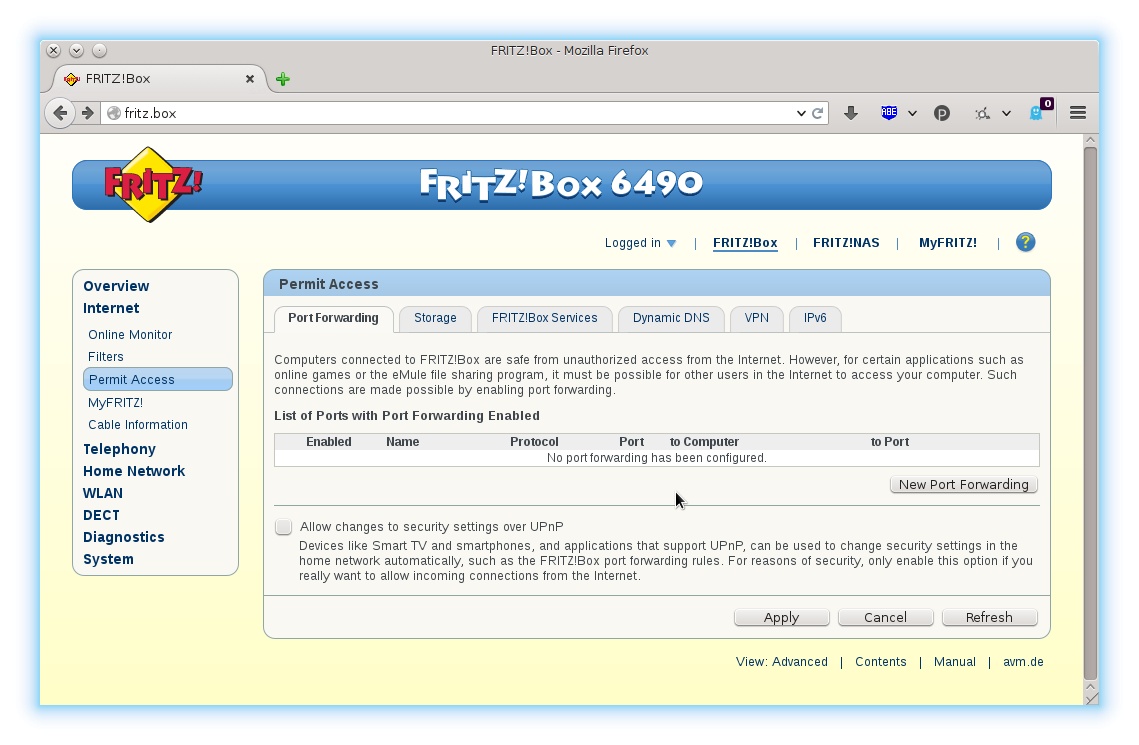
Let’s create a port forwarding rule for an app on your Raspberry Pi. In the web interface of your router, find the section Port Forwarding or alike. In our case, we go to Internet -> Permit Access. As shown in the following screenshot, you should see an option to create port forwarding rules. Klick on New Port Forwading.
Then, the web interface asks for some input. Before we gonna provide this, choose other applications in the drop down box. This will expand the input fields as shown in the next screenshot:
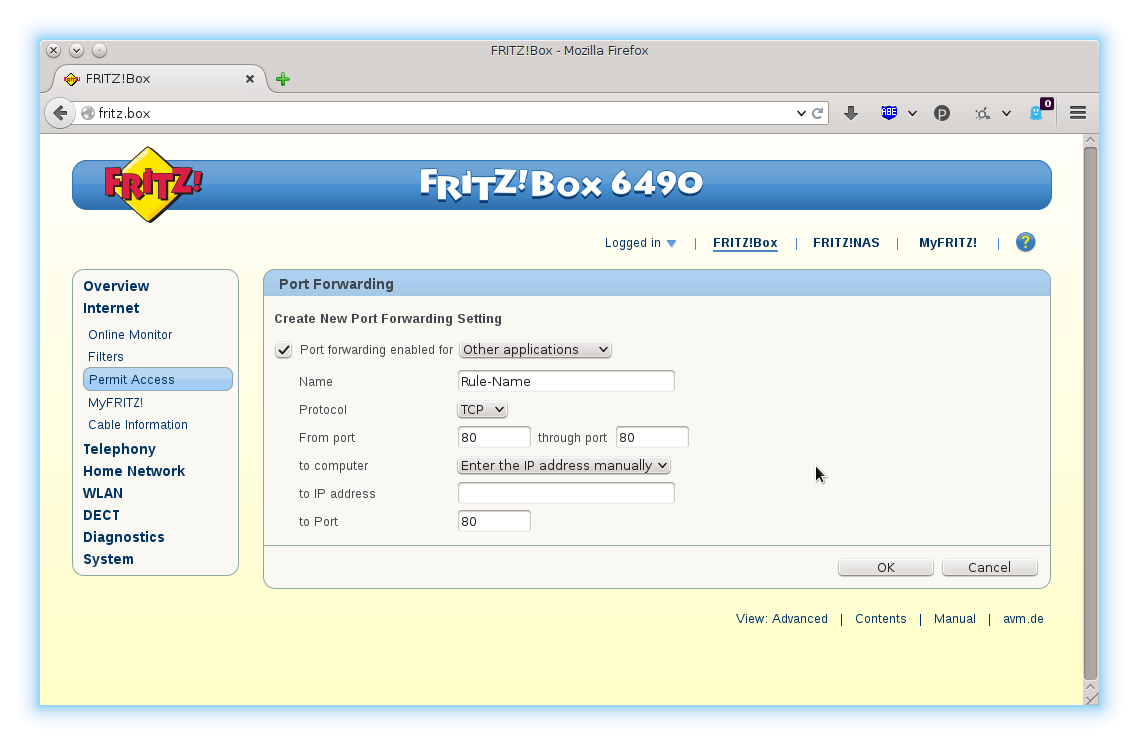
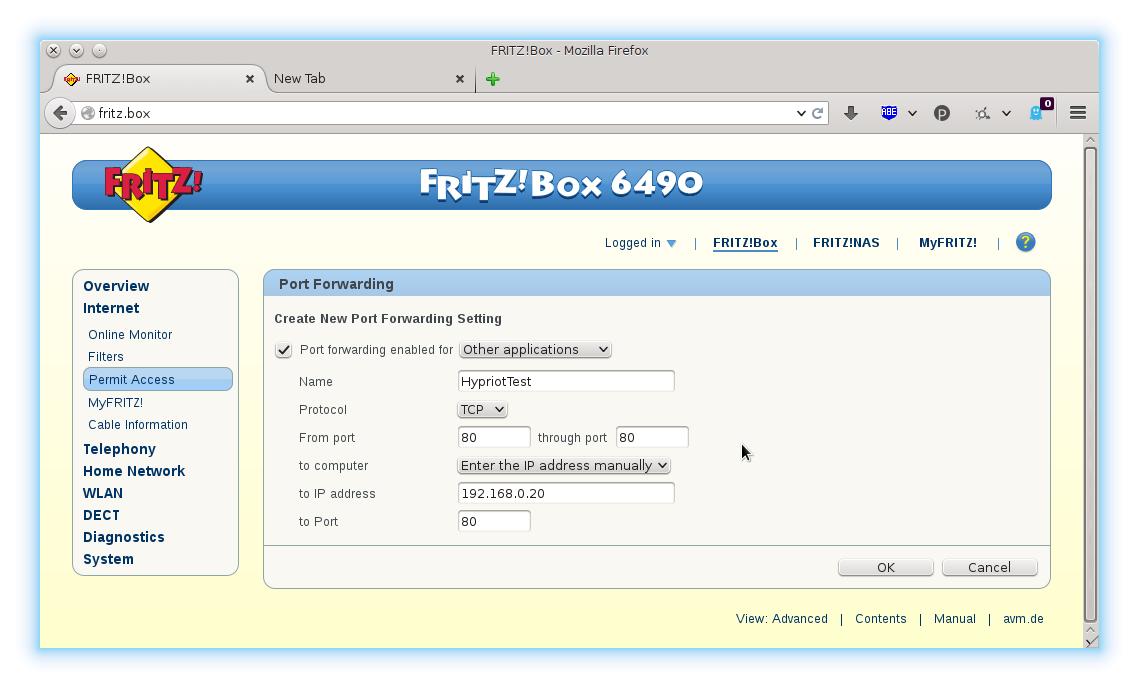
Now refer to the following table to provide the required input. Also have look at the next screenshot which shows an example of the result.
| Input field | Description |
|---|---|
| Name | Choose an arbitrary name for the port forwarding rule. |
| Protocol | Use option TCP |
| From Port x through Port y | Provide the port number the app on your Raspberry Pi listens on. We do not need a range of several port numbers here, so type in the same port number twice. |
| To computer | Type the IP address of your Raspberry Pi |
| To Port | Type the same port number as in field From port |
If you are not sure about the port numbers you need to define, checkout the chapter Example: How to create port forwarding rules for Docker containers below. There we will give some introduction of how port forwarding works.
Save. Next you should see a list of all rules that have been created. Make sure that the rule is Enabled and that the parameters are correct.

Congratulations! You managed to configure everything to reach your Raspberry Pi from the internet. Next, we will see how to bring Docker into this game.
Step 3: Docker run your containers with published ports
Before we get down to Docker, we will put some technical details about how port forwarding works upfront.
Incoming requests from the internet to your router will always include a port number, e.g. my-home.domain-of-provider.org:8080. This port number (here: 8080) tells the router, that this request wants to be forwarded to a device in your local network that is specified as the receiver for all requests to port 8080. This specification has to be done manually by creating port forwarding rules in your router. Doing so, you tell the router, which requests it should forward to which device in your local network.
For instance you can create a port forwarding rule saying
All incoming requests to port 8080 shall be forwarded to 192.168.0.10,
where 192.168.0.10 is the IP address of your Raspberry Pi.
The port that is published by a Docker container on your Raspberry Pi is specified whenever you start a new Docker container with
docker run --publish <port number>
For instance, if you execute
docker run --publish 8080:8080,
your container will be available at port 8080. For us, only the first port number is relevant. Just specify the port twice, like 8080:8080 and you will be fine. Now, you can specify a port forwarding rule in your router that forwards requests to port 8080 to the IP address of your Raspberry Pi.
Note (1)! You need to create one port forwarding rule for each port you publish when creating a new Docker container. Doing so, make sure that you always use one port only once. You cannot bind the same port to two different Docker containers. However, some Docker containers might require to publish several ports on your Raspberry Pi. This is true e.g. when setting up the Gogs Git service. Then, you need to create rules in your router saying that all requests to these ports shall be forwarded to the Raspberry Pi.
Note (2)! In case you already started a container and want to know which port a container has published, execute
docker ps
You will see a list of all running Docker containers. In the column PORTS you find the ports a container has published. Use the port number in front of the -> sign as port number when creating the forwarding rules your router.

Finally test your setup
To test your setup, we recommend to use a simple webserver you make available to the internet. In the terminal on your Raspberry Pi, execute as root:
docker run -d --publish 80:80 hypriot/rpi-busybox-httpd
Then, point your browser to the domain name you registered at the Dynamic DNS service. If everything has been configured properly, a small website from our team should appear.
![]()
We cross our fingers so that it will work for you! Please use the comments below to give us feedback and share it on Twitter or Facebook.
– Mathias
comments powered by Disqus